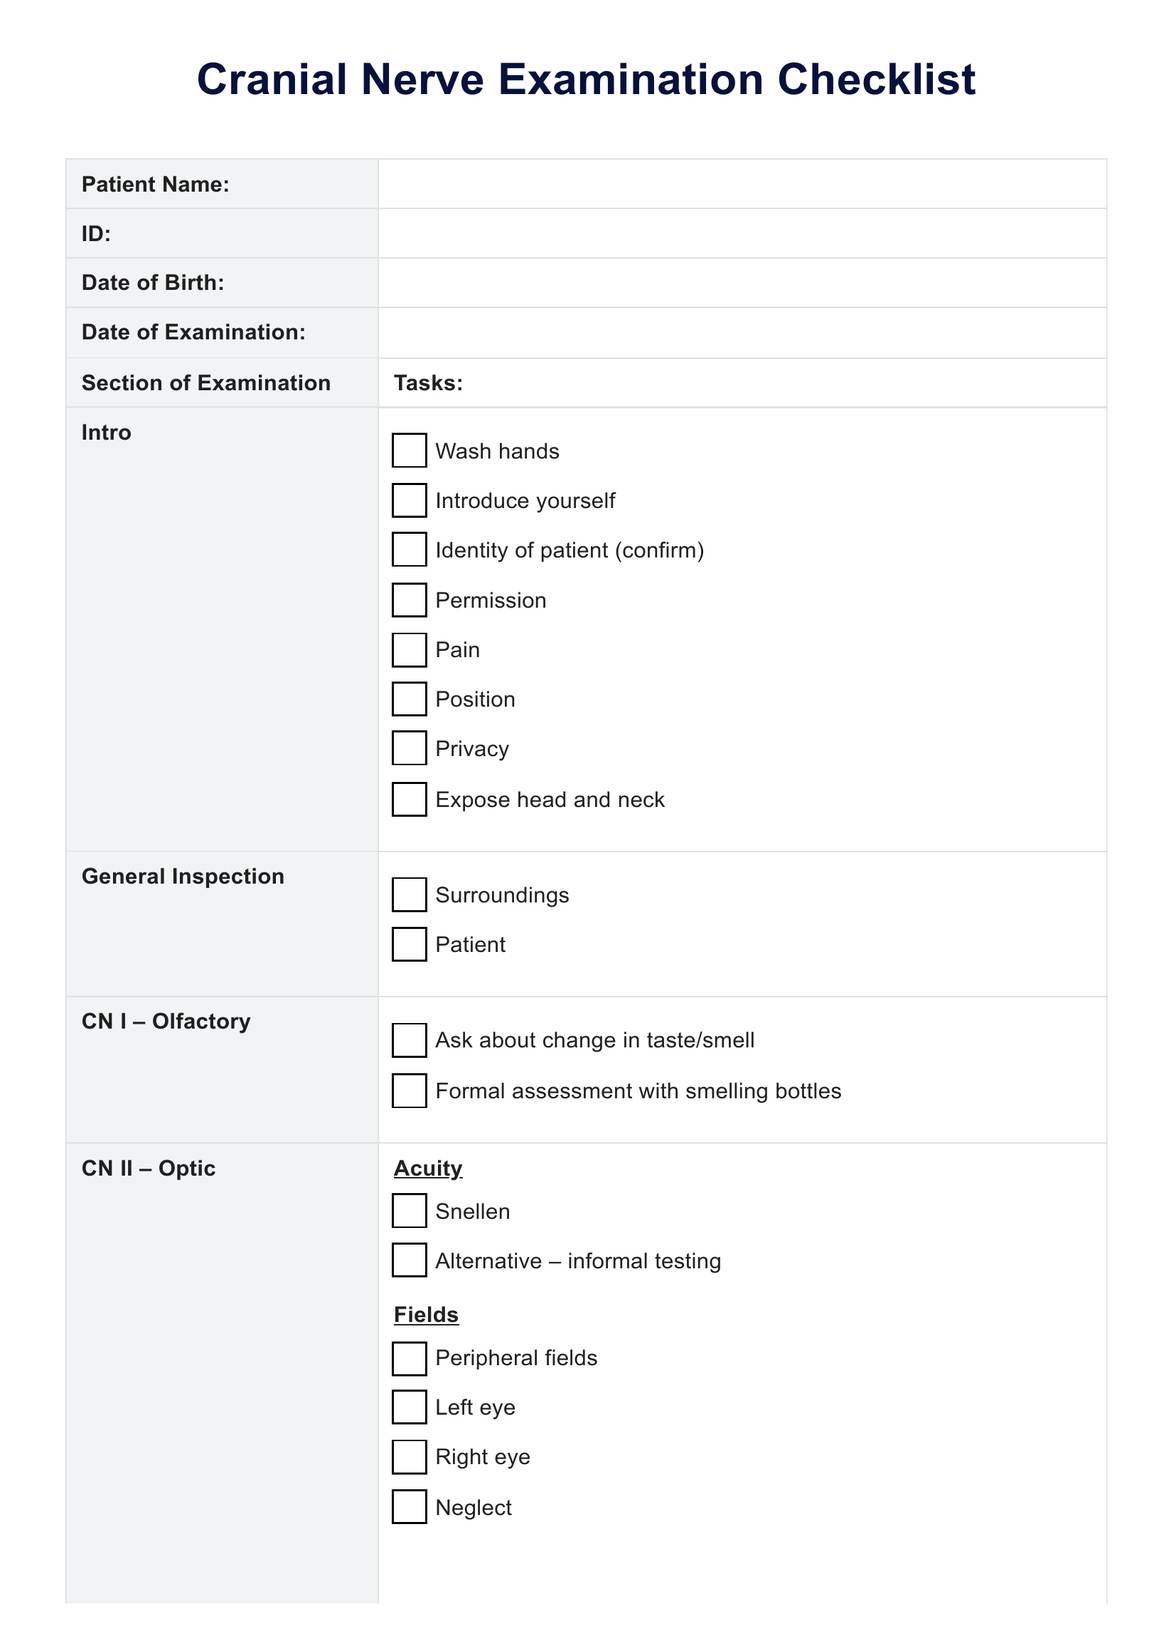
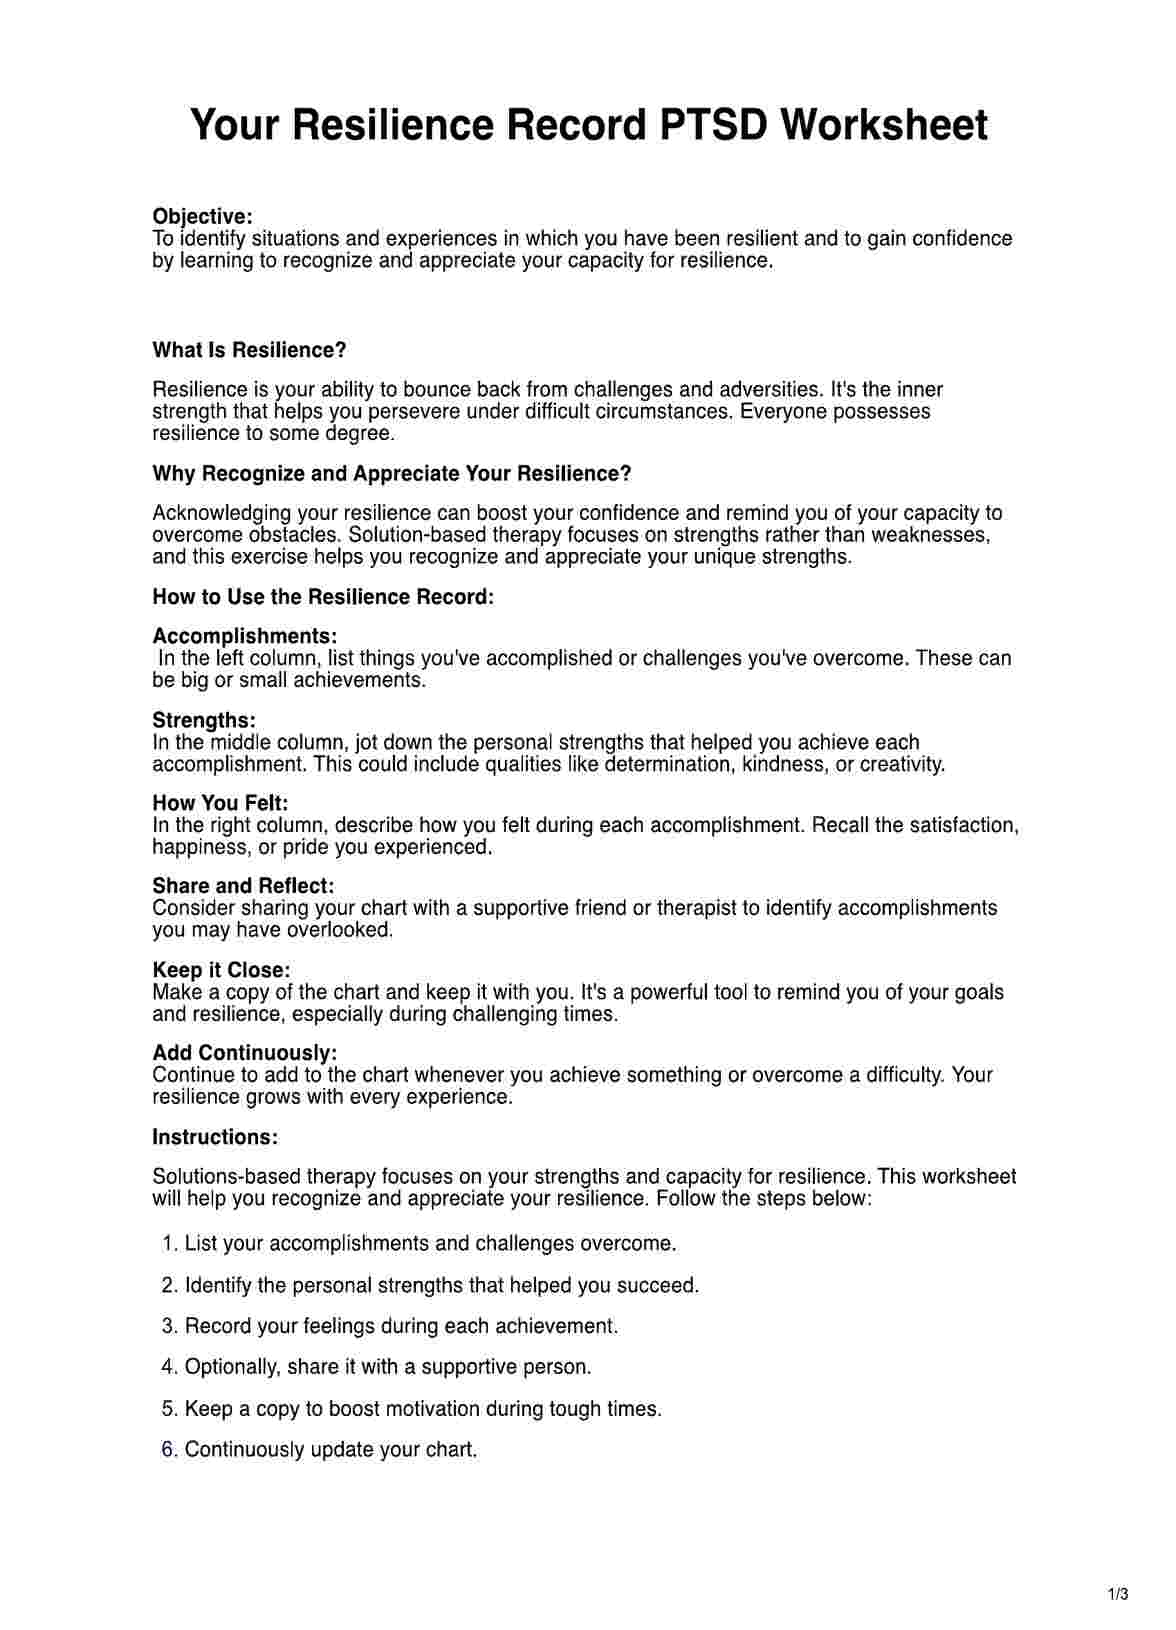
How does this cranial nerve checklist work?
Based on the Oxford Medical guidelines (Oxford Medical Education, 2015), this cranial nerve checklist breaks the cranial nerve exam down by the cranial nerve number(s) and then even further into subtasks to complete to assess each cranial nerve thoroughly.
We've tried to keep the checklist itself concise for easy use in clinical situations, but for a more thorough description of each of the items on this checklist- take a look at each of the steps given here.
Step 1. Introduction
We have used the commonly employed acronym WIPE to structure the introduction portion of the examination concisely. Following this acronym ensures you complete the key tasks of hand hygiene, introducing yourself, confirming the patient's identity, gaining permission to perform the examination, and ensuring the patient has privacy for the examination.
Step 2. General inspection
The inspection can be very brief, but it involves assessing the patient's surroundings, general appearance, any medical paraphernalia they have with them, and any other nearby equipment or presentation features that may impact the examination.
Step 3. Cranial nerve examination
Next comes the substantive part of this exam, systematically testing the cranial nerves. The exact order of these tests is up to you and may depend on how you were taught to perform the exam and which order you feel most comfortable with. We have given the cranial nerves in order from one to twelve, with nerves that are typically tested together grouped in the checklist (III, IV, VI, IX, and X).
1. Olfactory nerve (CN I)
To test this nerve, question the patient on any recent change in the sense of taste or smell or formally assess their sense of smell using smelling bottles, e.g., coffee or peppermint, occluding one nostril at a time.
2. Optic nerve (CN II)
Formally test visual acuity using a Snellen chart at 6m, covering one eye. Test peripheral fields by confrontation and check visual neglect. Alternatively, informally assess visual acuity using your name badge.
Reflexes to be tested include the direct pupillary, accommodation, and consensual pupillary reflexes. Ophthalmoscopy tests the red reflex, assesses the optic disc, and scans the retina. Ensure you ask the patient to look up and down to the left and right so you can check the peripheries.
3. Oculomotor nerve (CN III), trochlear nerve (CN IV), and abducens nerve (CN VI)
We can group the third, fourth, and sixth cranial nerves, as these are generally all tested simultaneously. Check for smooth pursuit, strabismus, and the primary position.
4. Trigeminal nerve (CN V)
Assess ophthalmic, maxillary, and mandibular sensory branches with a piece of cotton wool for the trigeminal nerve tests. Inspect for wasting of the masseter and temporalis muscles and check for jaw resistance strength. Check corneal and jaw-jerk reflexes.
5. Facial nerve (CN VII)
To assess the functioning of the facial nerve, ask the patient to scrunch up their eyes, look upwards and raise their eyebrows, puff out their cheeks, show their teeth, and inspect for facial asymmetry.
6. Vestibulocochlear nerve (auditory) (CN VIII)
If hearing loss is detected, perform a gross hearing assessment followed by a Rinne test, Weber's test, otoscopy, and audiometry.
7. Glossopharyngeal nerve (CN IX) and vagus nerve (CN X)
Assess for dysarthria or dysphonia as part of the glossopharyngeal and vagus nerve testing. Ask the patient to say "aah" and inspect the soft palate and uvula. Perform a swallow assessment or assessment of the gag reflex (Thomas et al., 2022)
8. Spinal accessory nerve (CN XI)
Ask the patient to raise their shoulders, turn their head, and keep them there while you provide resistance. Similarly, perform a head turn against resistance to assess the sternocleidomastoid muscles.
9. Hypoglossal nerve (CN XII)
To test the hypoglossal nerve, inspect the tongue for wasting and fasciculations, ask the patient to protract their tongue and inspect for deviation, and test the tongue strength against each cheek.
Step 4. Closure
Thank the patient for their time, dispose of any protective equipment, and rewash your hands.
Step 5. Next Steps
Lastly, we have left space for you to summarize your findings and add any next steps for your patient based on your findings.